
Prepping Your Family to “Act Natural” (and Actually Have Fun)
To get natural smiles in family photos:
Plan outfits + hair a few days ahead.
Protect nap and meal times; bring non-messy snacks.
Set the tone: tell kids it’s a play date with pictures, not a test.
Let the photographer lead—avoid coaching “Say cheese.”
Keep expectations age-appropriate; celebrate small wins.
Pack a tiny kit: wipes, lint roller, clear lip balm, water, backup shirt.
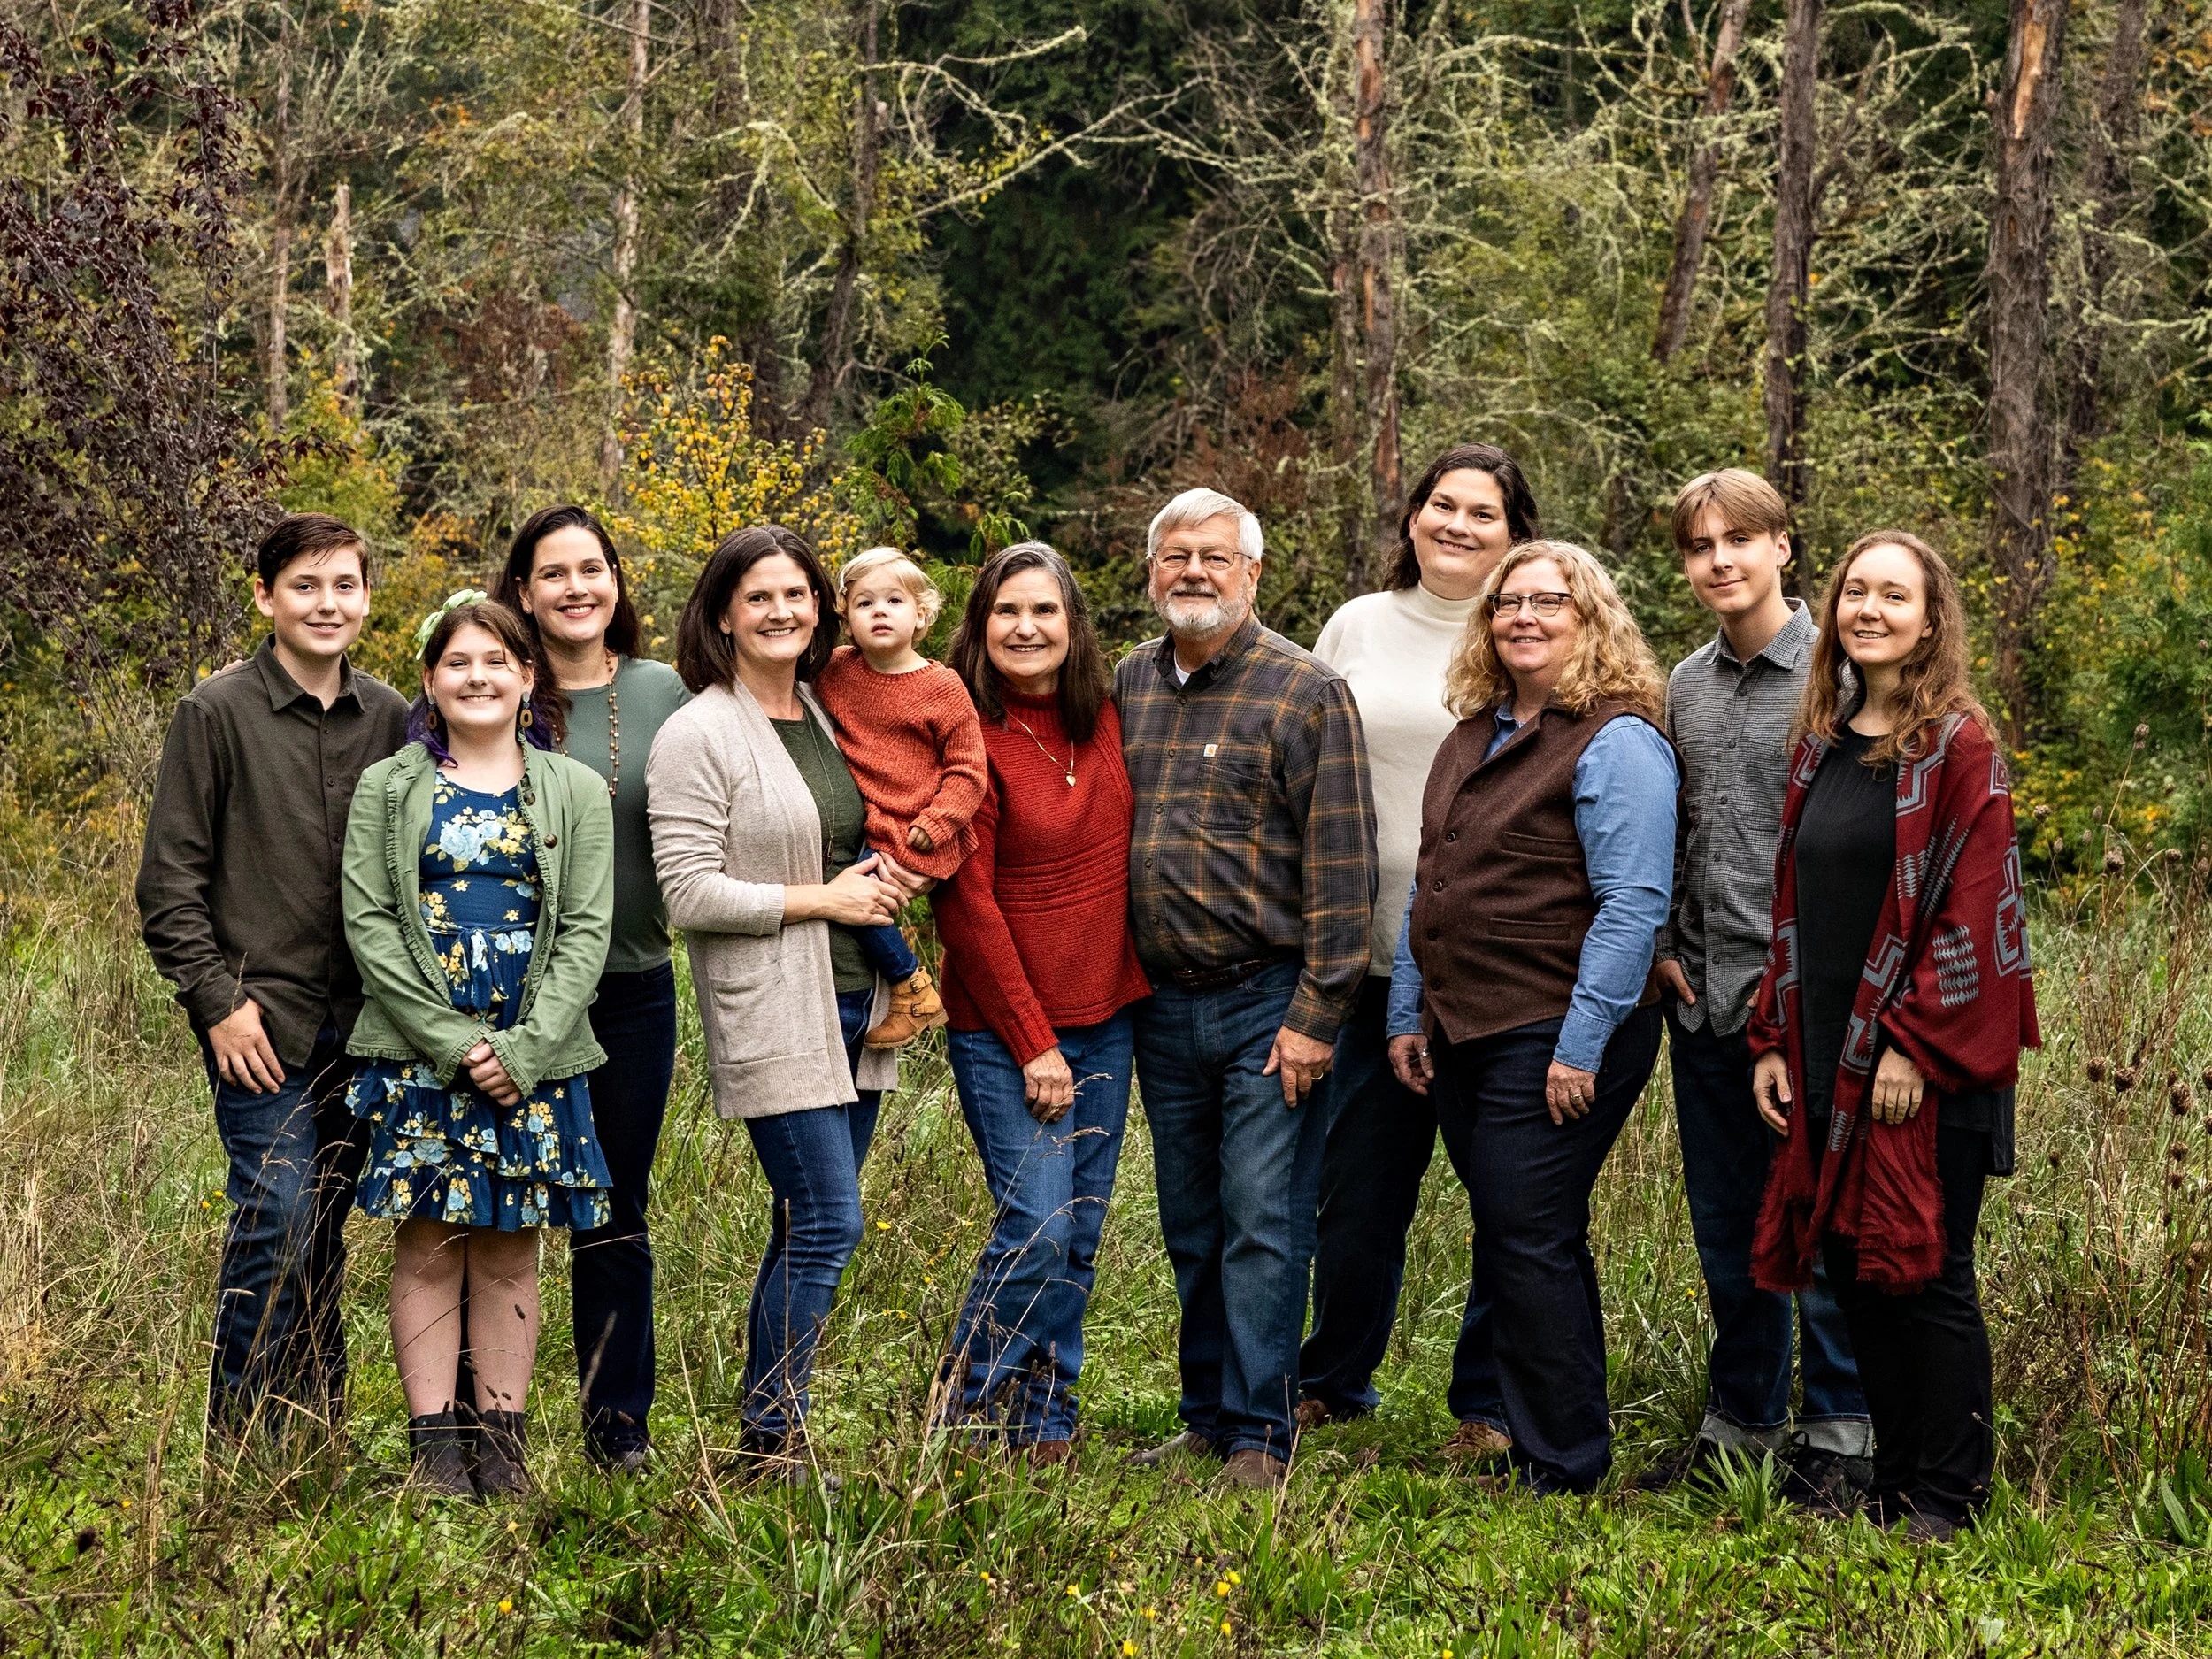
Focus on connection over perfection; the giggles are the goal.
Why “act natural” is harder than it sounds (and totally doable)
You’re investing time, energy, and real dollars in portraits. You want real smiles, not “camera face.” The secret isn’t better bribery, it’s reducing stress before the session, setting playful expectations, and letting your photographer guide the moments. When kids feel safe and seen, they stop performing and start being themselves. That’s when the magic (and the authentic expressions) happen.
As a print-focused studio in Vancouver, WA, I create a low-pressure experience so your portraits can Live Long In Portraits on your walls, not just your phone.
The Natural-Smile Formula (simple + repeatable)
1) Prep early so Day-Of is calm
Outfits chosen 5–7 days out. Try everything on at once. Sit, stand, twirl. If something rides up or itches, swap it now, not at go time.
Haircuts 7–10 days before (gives time for edges to settle).
Shoes matter. Neutral and comfortable always photograph better than brand-new, blister-risk pairs.
Texture over logos. Soft knits, denim, linen, and simple patterns look timeless; skip loud graphics and neon.
2) Guard sleep and food like a pro
Naps win. Pick a session time that fits your youngest child’s rhythm.
Pre-session meal. Aim for protein + carbs 60–90 minutes before.
Smart snacks during. Think tiny, tidy, and quick: mini marshmallows, Smarties, fruit leather strips, pretzels, string cheese, mini grapes (cut if needed).
Skip mess makers. No lollipops, chocolate, Cheetos, or red drinks.
3) Set the story (what you tell the kids)
Keep it upbeat and low stakes. Try:
“We’re going to hang out with Tammy for a bit. We’ll play some games, take a few pictures, and then we’re getting hot cocoa.”
Avoid: “If you don’t smile, no treats.” Threats create tight lips and worry eyes. Rewards after? Great. Pressure during? Nope.
4) Let the photographer lead
Your job is to connect with your people. My job is to get the look, tweak the light, and coax those natural expressions. When parents coach (“Look at the camera!” “Smile!”), kids split attention and default to the fake grin. Instead, stand beside me, be playful, and let me work the prompts.
5) Celebrate micro-moments
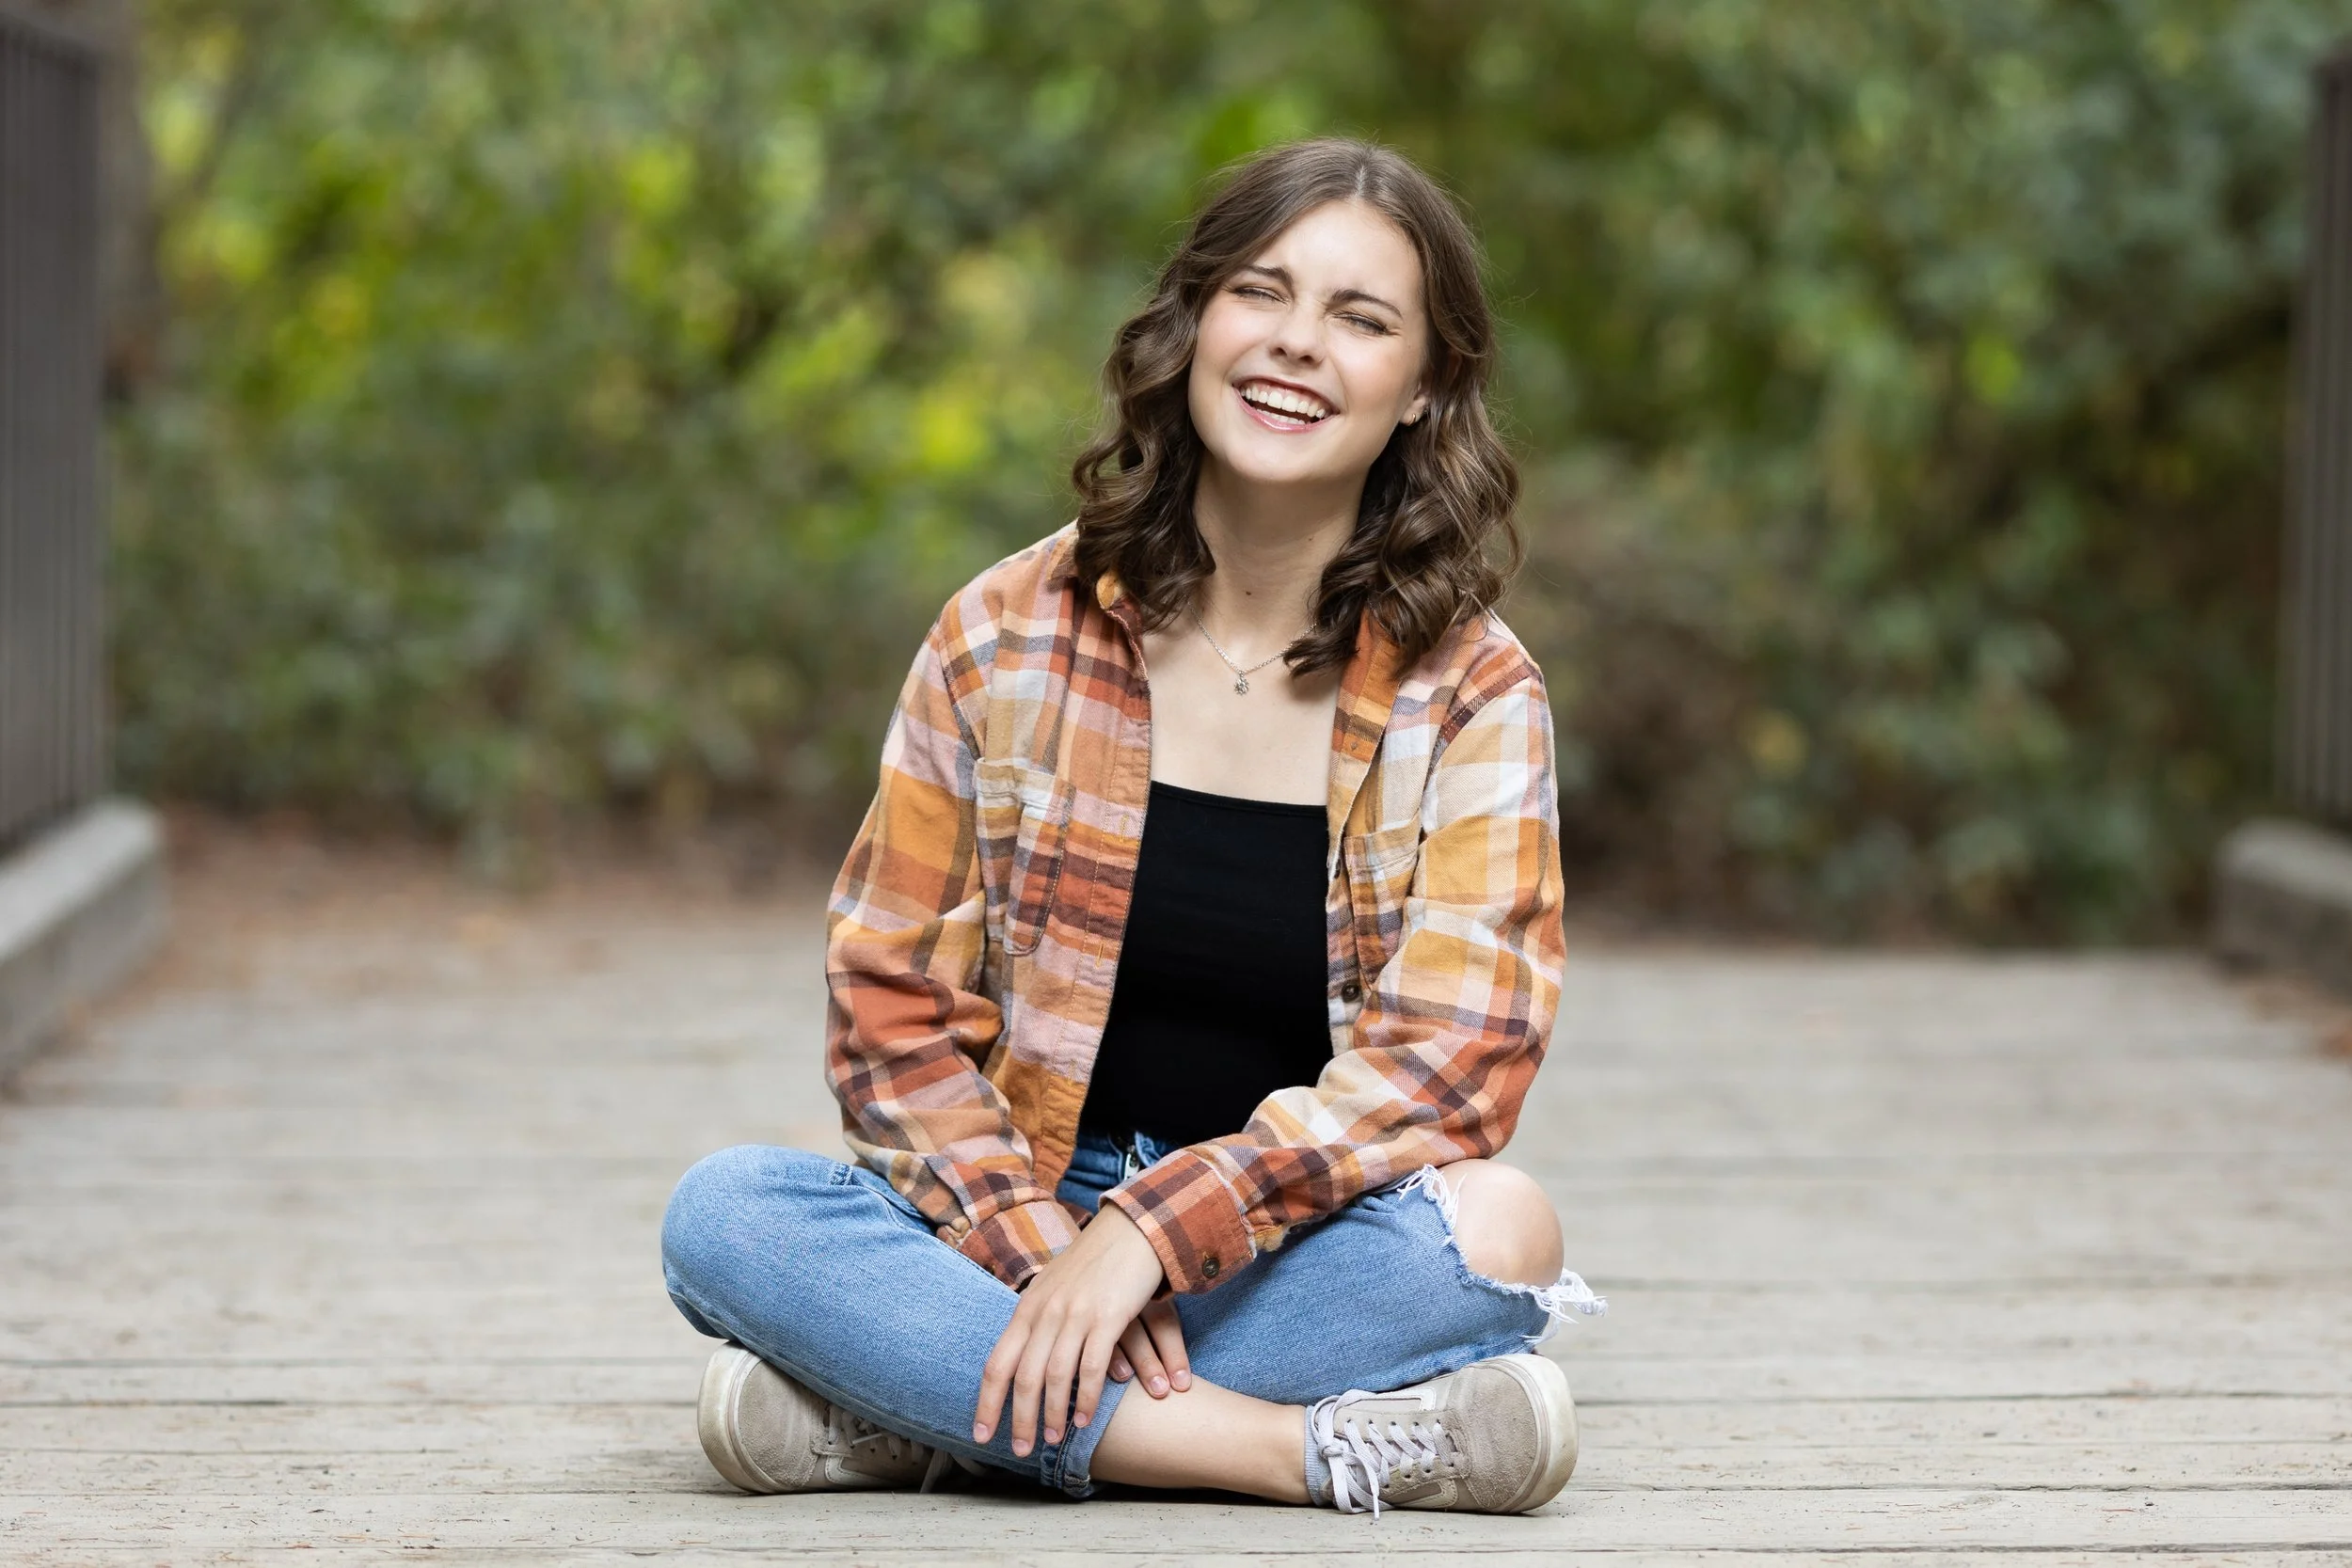
We build authentic smiles from small wins: a shared secret, a quick race to a spot, a ridiculous prompt. When we praise effort (“You’re doing awesome!”) rather than outcomes (“Bigger smile!”), kids relax—and the good stuff shows up.

7-Day Prep Timeline (copy/paste friendly)
7 days out
Choose outfits (coordinate, don’t match). Plan a cozy base layer if outdoors.
Check shoes + socks; cut scratchy tags; gather hair ties, bobby pins.
If needed, book hair trims now.
3–4 days out
Try everything on together. Do a 2-minute dance test. Confirm comfort.
Finalize accessories. Simple jewelry; avoid jangly bracelets for littles.
48 hours out
Confirm directions, parking, and weather plan.
Wash/steam outfits; pack a backup top for at least one adult.
Night before
Lay out clothes, socks, and shoes by person.
Charge phones (for payment or after-session logistics), but we’ll keep them pocketed during photos.
Pack the Tiny Session Kit (see below).
Day of
Keep the schedule light; protect naps.
Feed everyone a real snack/meal. Hydrate.
Say your simple script: it’s a play date with pictures.
Arrive 5–10 minutes early so kids can acclimate.
The Tiny Session Kit (stash in one tote)
Wipes, tissues, travel-size hand lotion
Lint roller, safety pins, small sewing kit
Clear lip balm, compact brush/comb
Clear elastics, bobby pins, headband backup
Water, tiny non-messy snacks in separate baggies
Backup shirt (neutral) for one adult
Mini first-aid (bandages), bug wipes for outdoor sessions
If bringing a pet: leash, treats, waste bags, lint brush
Do’s and Don’ts (expanded and practical)
Do:
Prepare outfits and hair in advance. Comfort first, then color harmony.
Feed first, snack smart. Small, tidy treats keep spirits up.
Set a playful expectation. “We’ll play a few fun games.”
Share your vision with me. Prefer candid, snuggly moments? Silly prompts? Tell me—I’ll plan the flow accordingly.
Trust the process. Natural smiles often appear between the posed moments.
Engage with your family in-frame. Whisper a joke, fix a stray curl, cuddle in—that tenderness photographs beautifully.
Don’t:
Don’t threaten or bargain intensely. Pressure = stiff faces.
Don’t coach from the sidelines. I’ll guide eye lines, hands, and prompts.
Don’t overschedule the day. Tired kids (and adults) struggle to settle.
Don’t chase perfection. The laugh after the outtake is the keeper.
Don’t bring messy snacks or brand-new, untested shoes.
Scripts you can use (word-for-word)
To your spouse/partner (day before):
“We’re keeping tomorrow simple. Clothes are laid out; we’ll leave 10 minutes early. Let’s focus on connecting, play with the kids, I’ll handle snacks and wipes.”
To a shy child (car ride):
“We’ll meet Tammy, she’s fun. We’ll play a couple games and you can stay close to me. You don’t have to smile on purpose; just be you.”
To a high-energy kid (first 2 minutes):
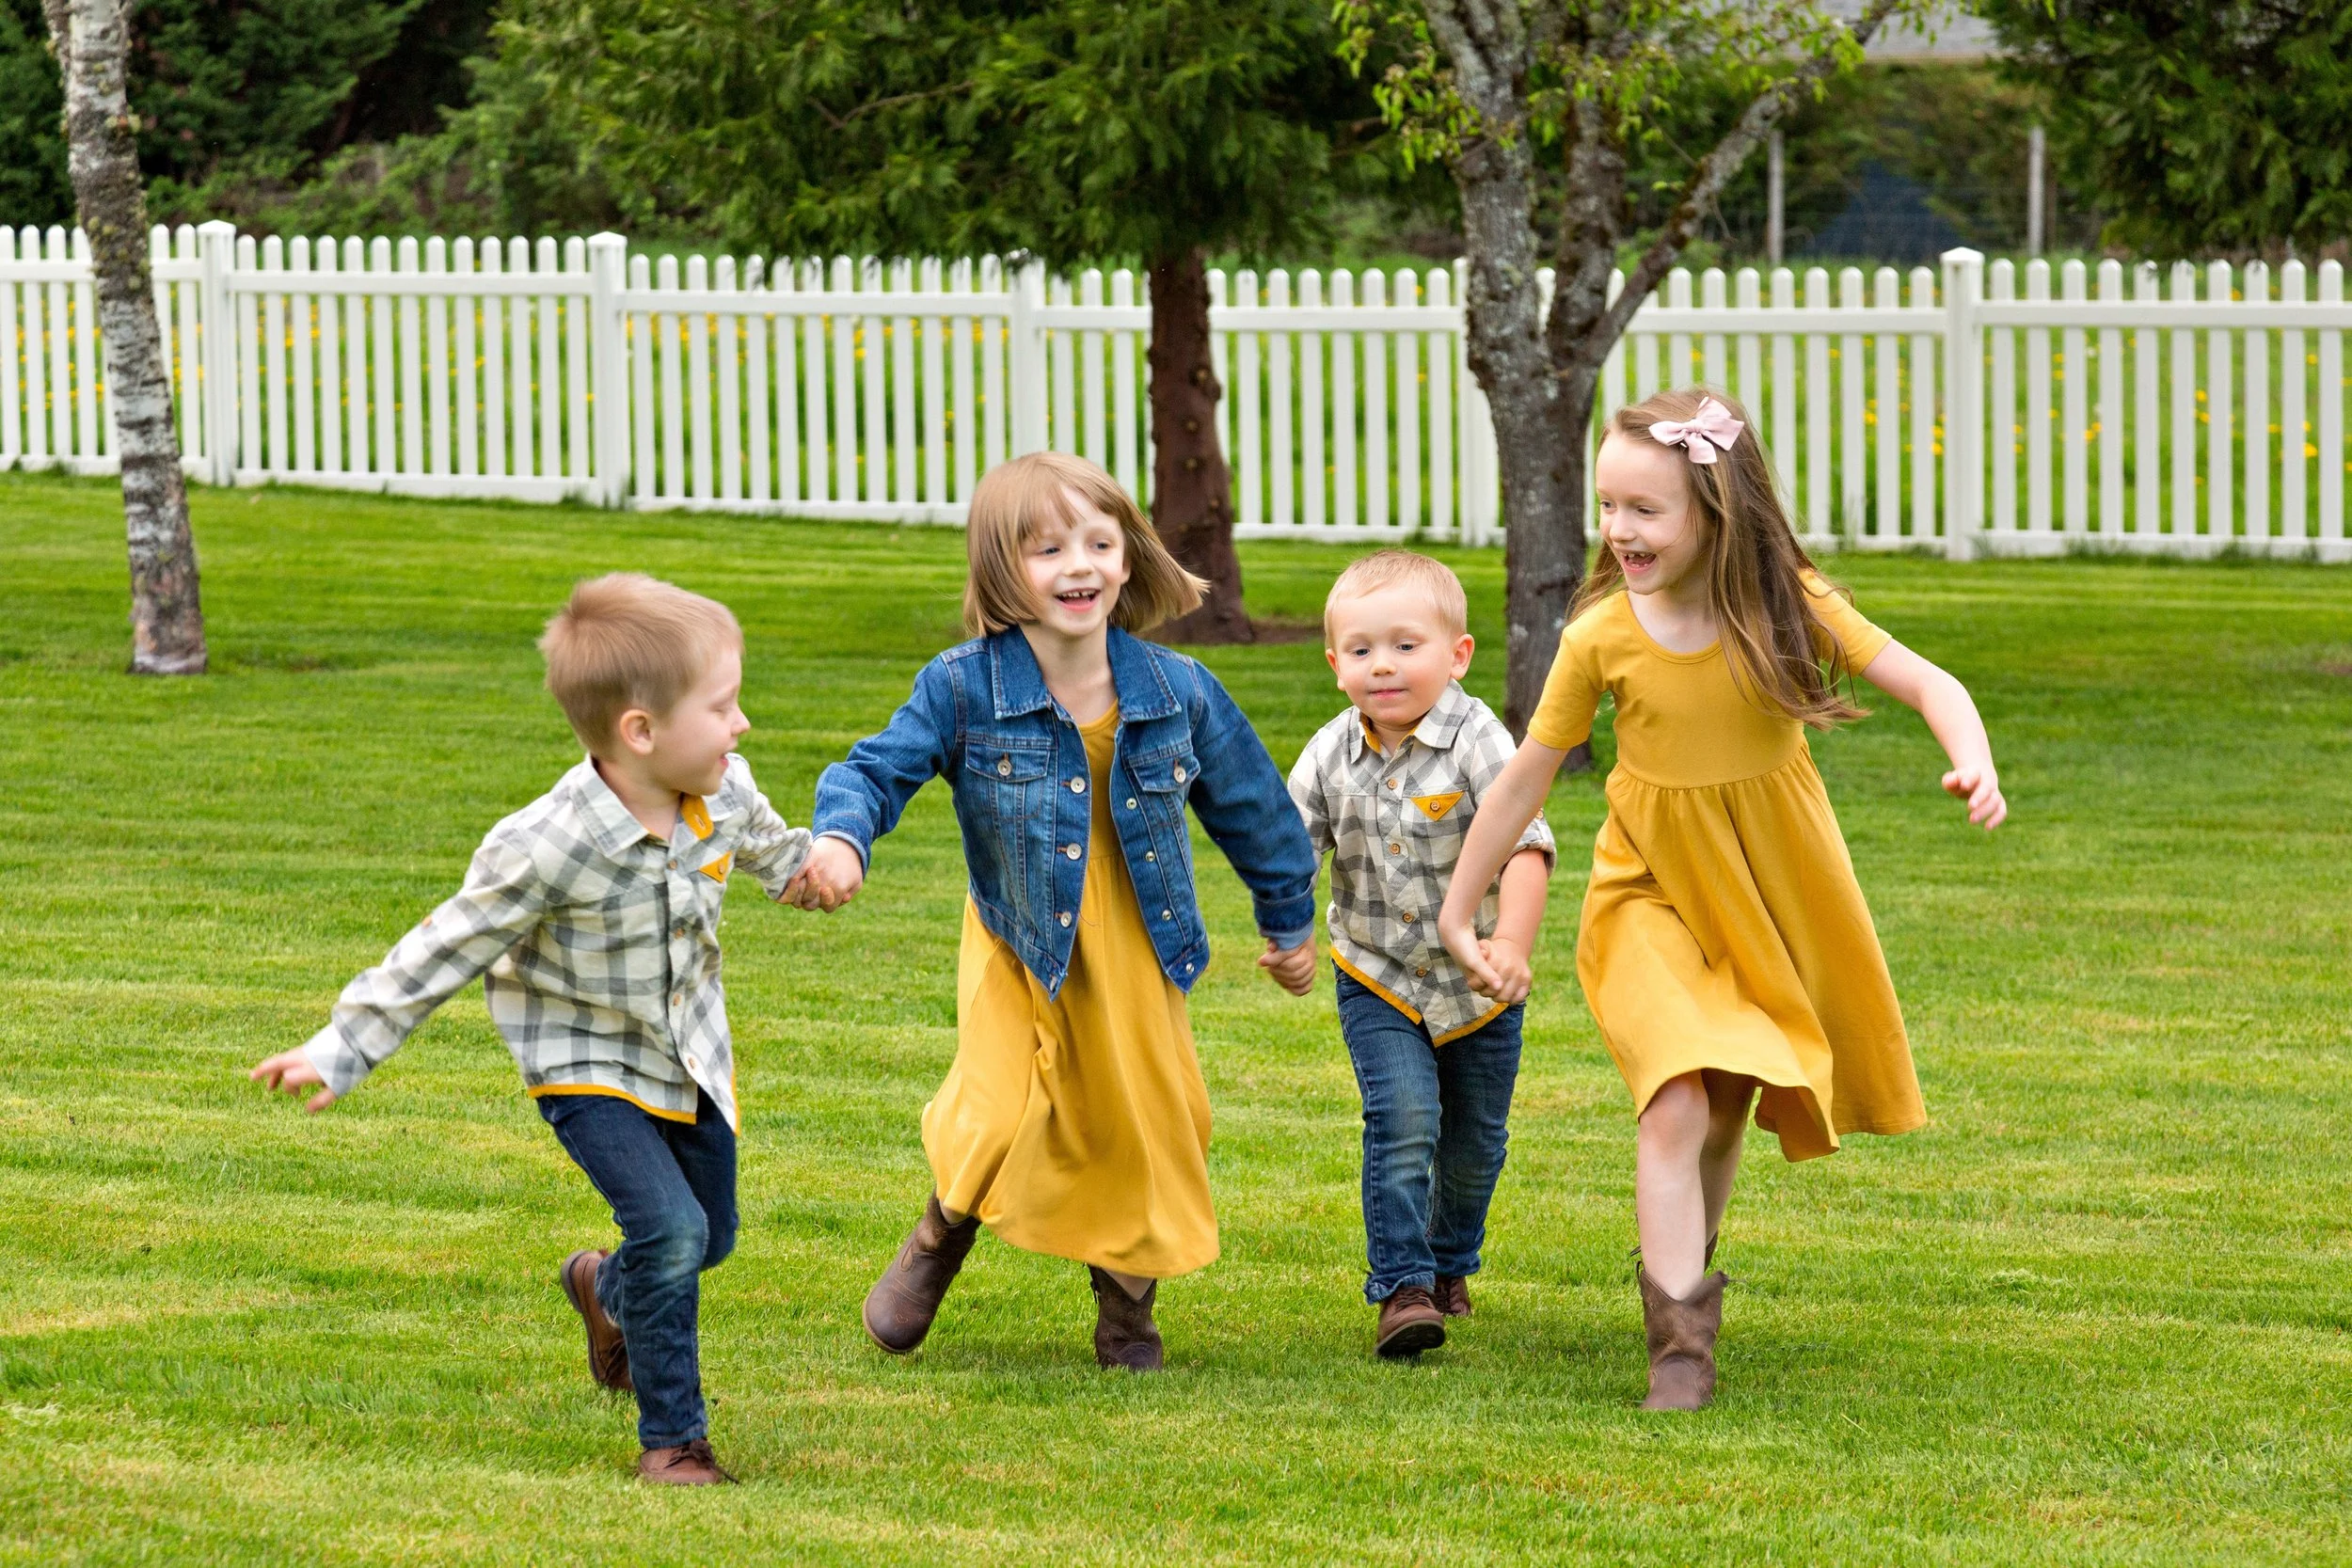
“I bet you can show Tammy your fastest spin. Ready… go! Wow. Now freeze like a statue!” (Spin, giggle, statue = perfect micro-moment.)
If a meltdown starts:
“You’re okay. Let’s take two sips of water, then you can be the Helper and tell us where to stand.” (Kids love roles.)
Clothing & color tips that photograph well
Coordinate a palette of 2-3 colors and vary shades across people.
Neutrals + one color pop (e.g., oatmeal, denim, soft green) feels timeless.
Avoid matchy-matchy uniforms; layers add depth.
Mind the fit. Slightly structured pieces at the waist/shoulders flatter on camera.
Texture beats glare. Matte fabrics > shiny satins outdoors.
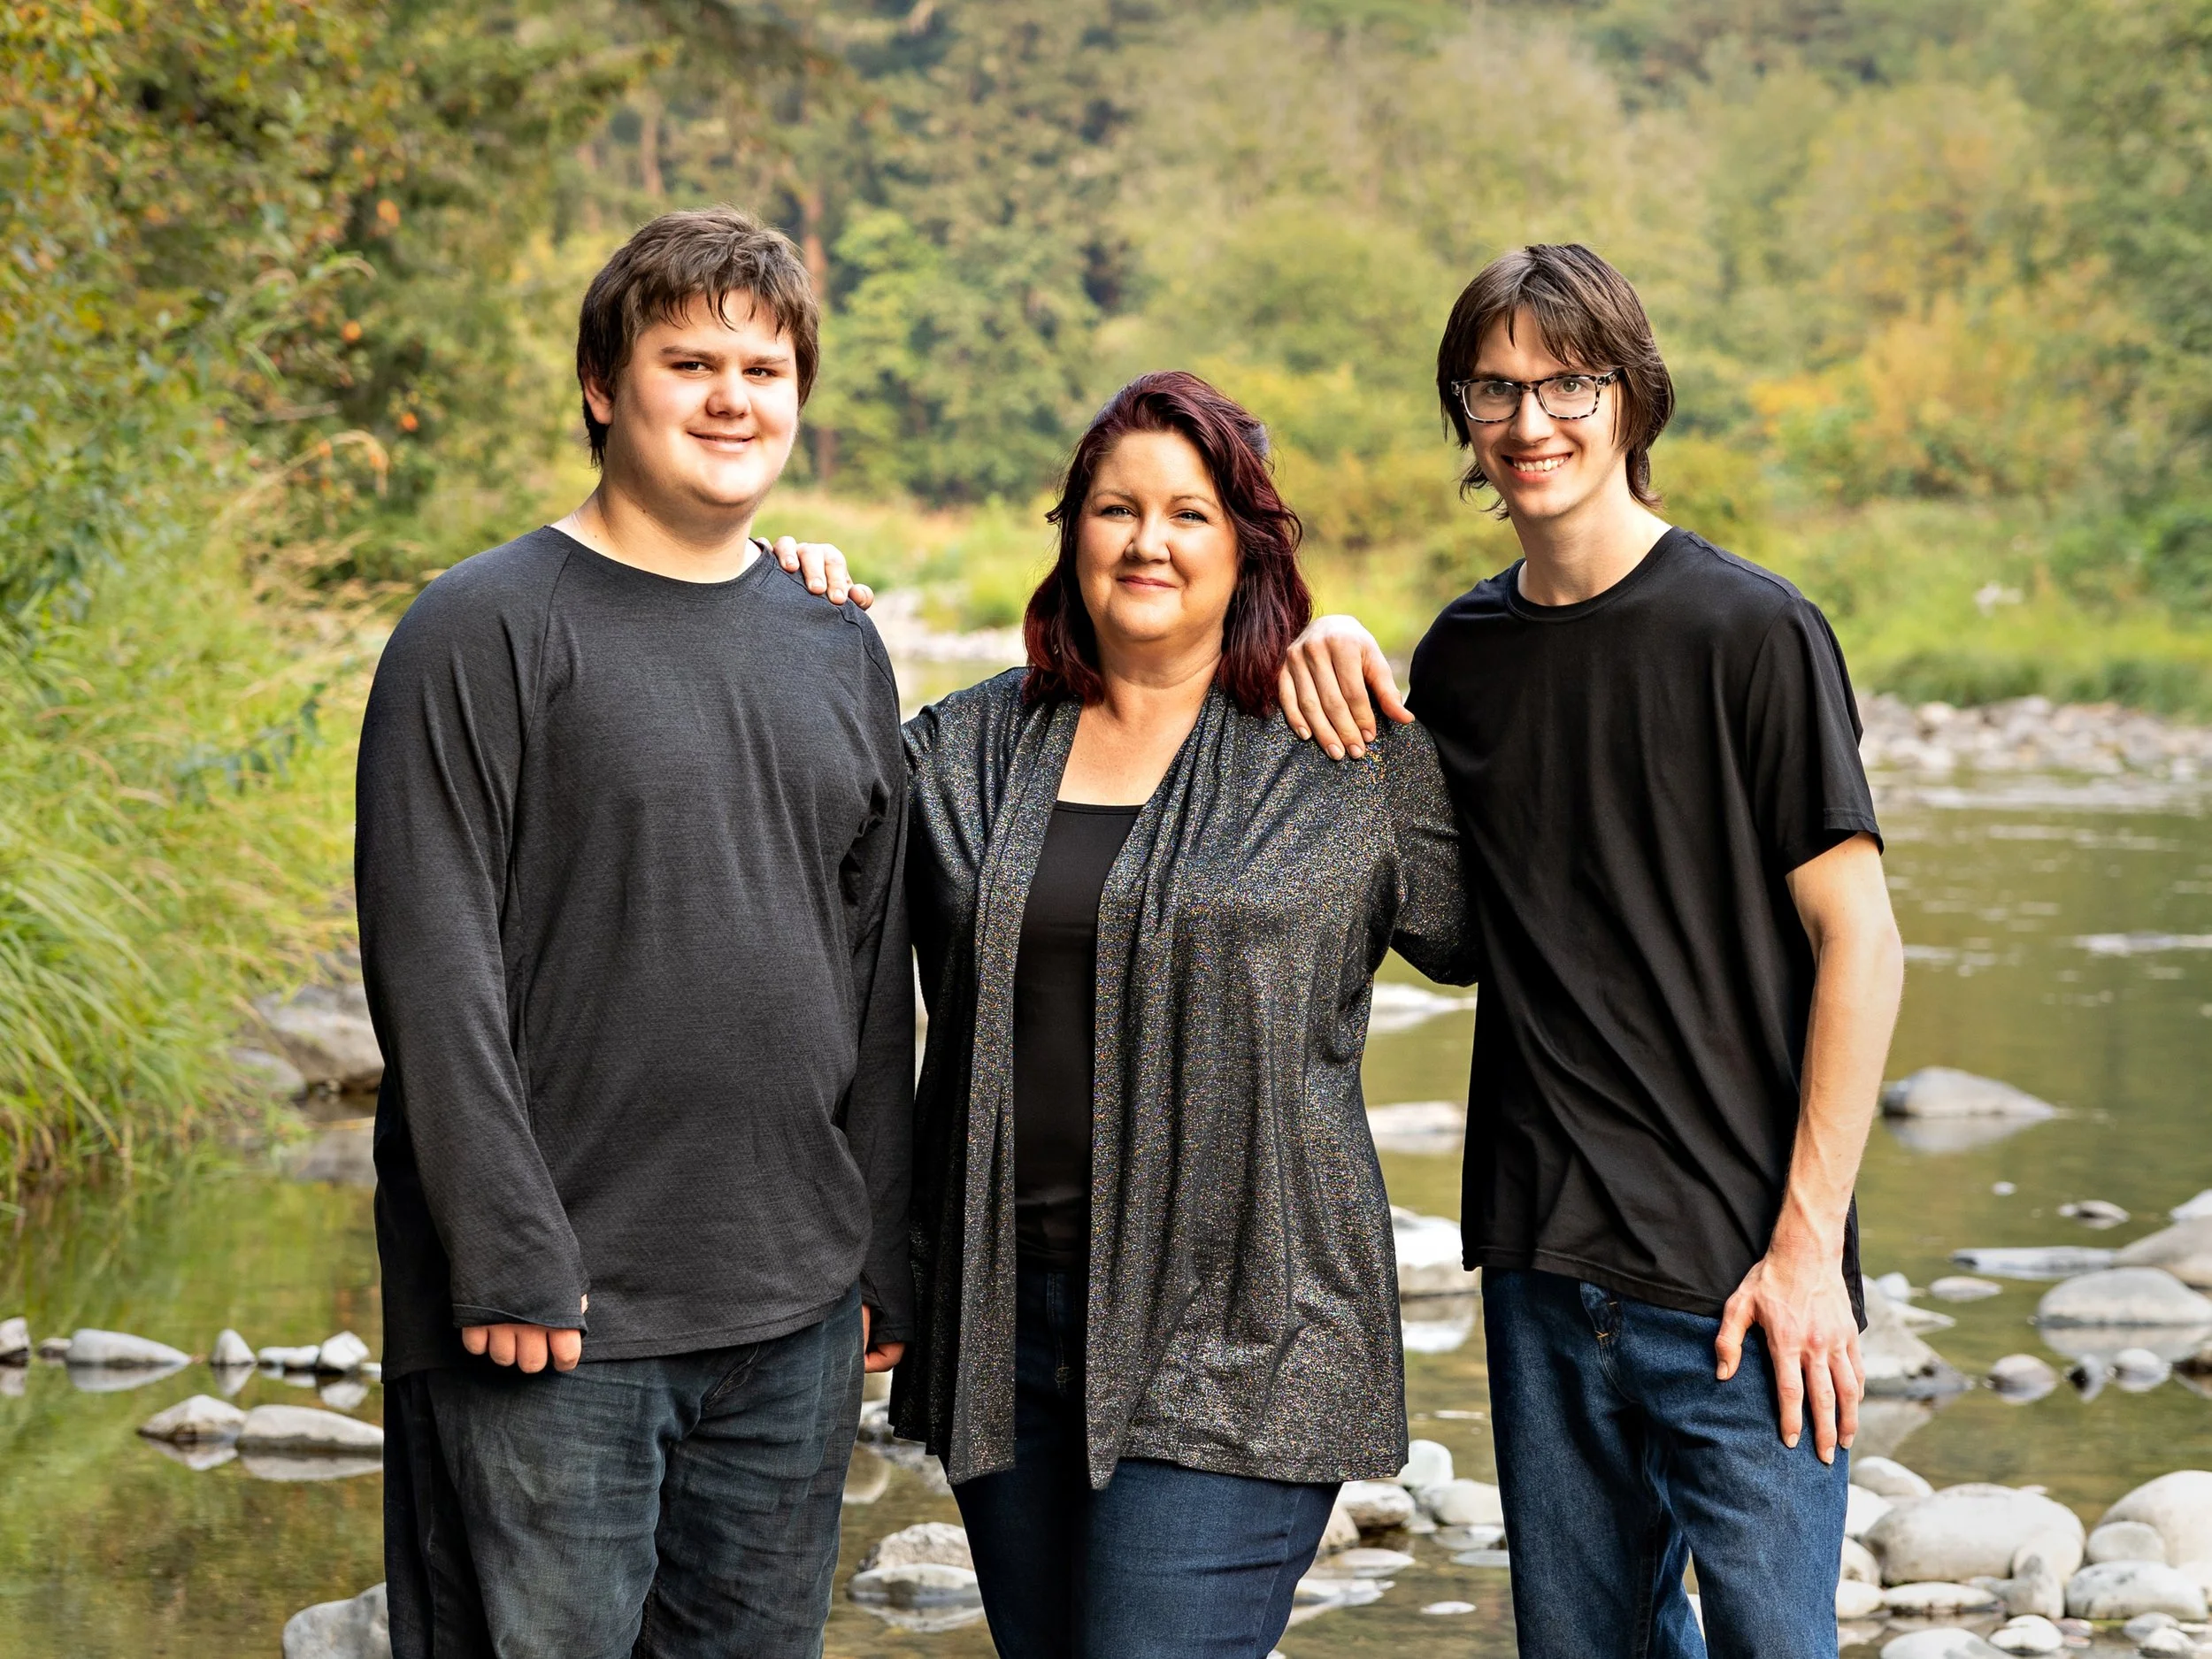
Glasses? Wear them! We’ll angle for no glare.
What if my child is neurodivergent (or just not into photos)?
You’re in good hands. I build sessions with flexibility, patience, and sensory-aware choices:
Preview plan. Tell me any triggers or fav interests; I’ll weave them in.
Gentle transitions. We alternate quiet moments with quick movement.
Clear choices. “Do you want to stand by Mom or hold the rock?”
Breaks welcome. Pressure off = better outcomes.
Noise and texture sensitivity. I’ll keep prompts calm and spaces predictable.
The goal is always comfort first, then connection. Smiles follow.
Weather, pets, and Plan B
Weather: I monitor conditions and offer clear go/no-go guidance. Overcast is actually flattering; in drizzle we can pivot or play under cover.
Pets: Yes! Bring a handler and treats. We’ll start with the pet, then they can relax with the handler while we finish.
Backup plans: For outdoor shoots, we’ll have a rain plan or nearby covered spot. For studio sessions, we control light and climate—stress down, smiles up.
What happens if someone is running late?
Text me as soon as you know. We’ll adjust the flow and prioritize must-have combinations. Please plan to arrive 5–10 minutes early; it’s the #1 stress reducer.
How the session usually flows (so you can relax)
Warm-up (2–5 min): silly prompt, tiny game, or “secret handshake.”
Core family set: everyone together while spirits are high.
Breakouts: siblings together, parents with each child, and individuals.
Energy check: quick snack/water if needed.
Finale fun: movement shot, group squeeze, or “walk and bump shoulders.”
This pace keeps kids engaged, gives you time to breathe, and produces both art-for-the-wall and storytelling candids.
After the session: keep the vibes going
Celebrate the effort. “You did great today!”
Don’t critique looks. Save style notes for adults in private.
Prep for the reveal. We’ll schedule your viewing/ordering appointment so you can select favorites and design printed pieces for your home.
How do I get natural smiles in family photos?
Prep early, protect naps/food, tell kids it’s a fun hangout, bring non-messy snacks, and let your photographer lead playful prompts.
What should we wear for family pictures?
Choose coordinated colors (not identical), comfortable layers, and textures. Avoid big logos, neon colors, and untested shoes.
Should we bring snacks?
Yes—tiny, tidy snacks like mini marshmallows or Smarties. Avoid chocolate, lollipops, Cheetos, or red drinks.
What if my child won’t cooperate?
We pivot. We use movement, choices, and breaks. The goal is comfort first; authentic expressions follow.
Can we include our dog?
Absolutely. Bring a leash, treats, and a handler. We’ll photograph the pet first.
What’s the best time of day?
Choose a time that fits your youngest child’s sleep/meal routine. Outdoors, we love golden hour; in studio, any time works.
Booking info (Vancouver, WA & Portland, OR)
If you want a session that prioritizes comfort, connection, and real expressions, I’d love to help. I offer relaxed studio sessions and outdoor locations around Clark County. Families, kids, and pets welcome.
Final pep talk
You don’t need perfect behavior or perfect weather to get perfect-for-you photos. You need a calm plan, realistic expectations, and a playful guide. Show up as you are; I’ll take it from there. And when those images become framed pieces in your home, you’ll be glad you aimed for connection over perfection.