Portrait Lighting Patterns: The 6 Basics
The six classic portrait lighting patterns are Butterfly, Loop, Rembrandt, Split, Short, and Broad. Each describes where the key light falls on the face and the shape of the nose/cheek shadow. Quick picks:
Butterfly: flattering, glam, cheekbones pop.
Loop: versatile, natural, works almost everywhere.
Rembrandt: dramatic triangle of light; moody/editorial.
Split: bold, one side lit, the other in shadow.
Short: light the far cheek; slims faces.
Broad: light the near cheek; widens faces and softens strong features.
Why lighting patterns matter (even if you only use a window)
When you know the patterns, you can predict how someone will look before you press the shutter—no guesswork. Whether you’re using the sun, a window, a softbox, or a bare flash with a napkin rubber-banded on (hey, we’ve all been there), patterns give you repeatable results and intentional style.
Two terms you’ll use a lot:
Key light: the main/brightest source (sun, window, strobe, continuous LED).
Fill: anything that lightens shadows (reflector, white wall, second light, bright floor).
Pro tip: Move the light or the subject—don’t just raise ISO. One small shift in angle often does more than any slider in Lightroom.
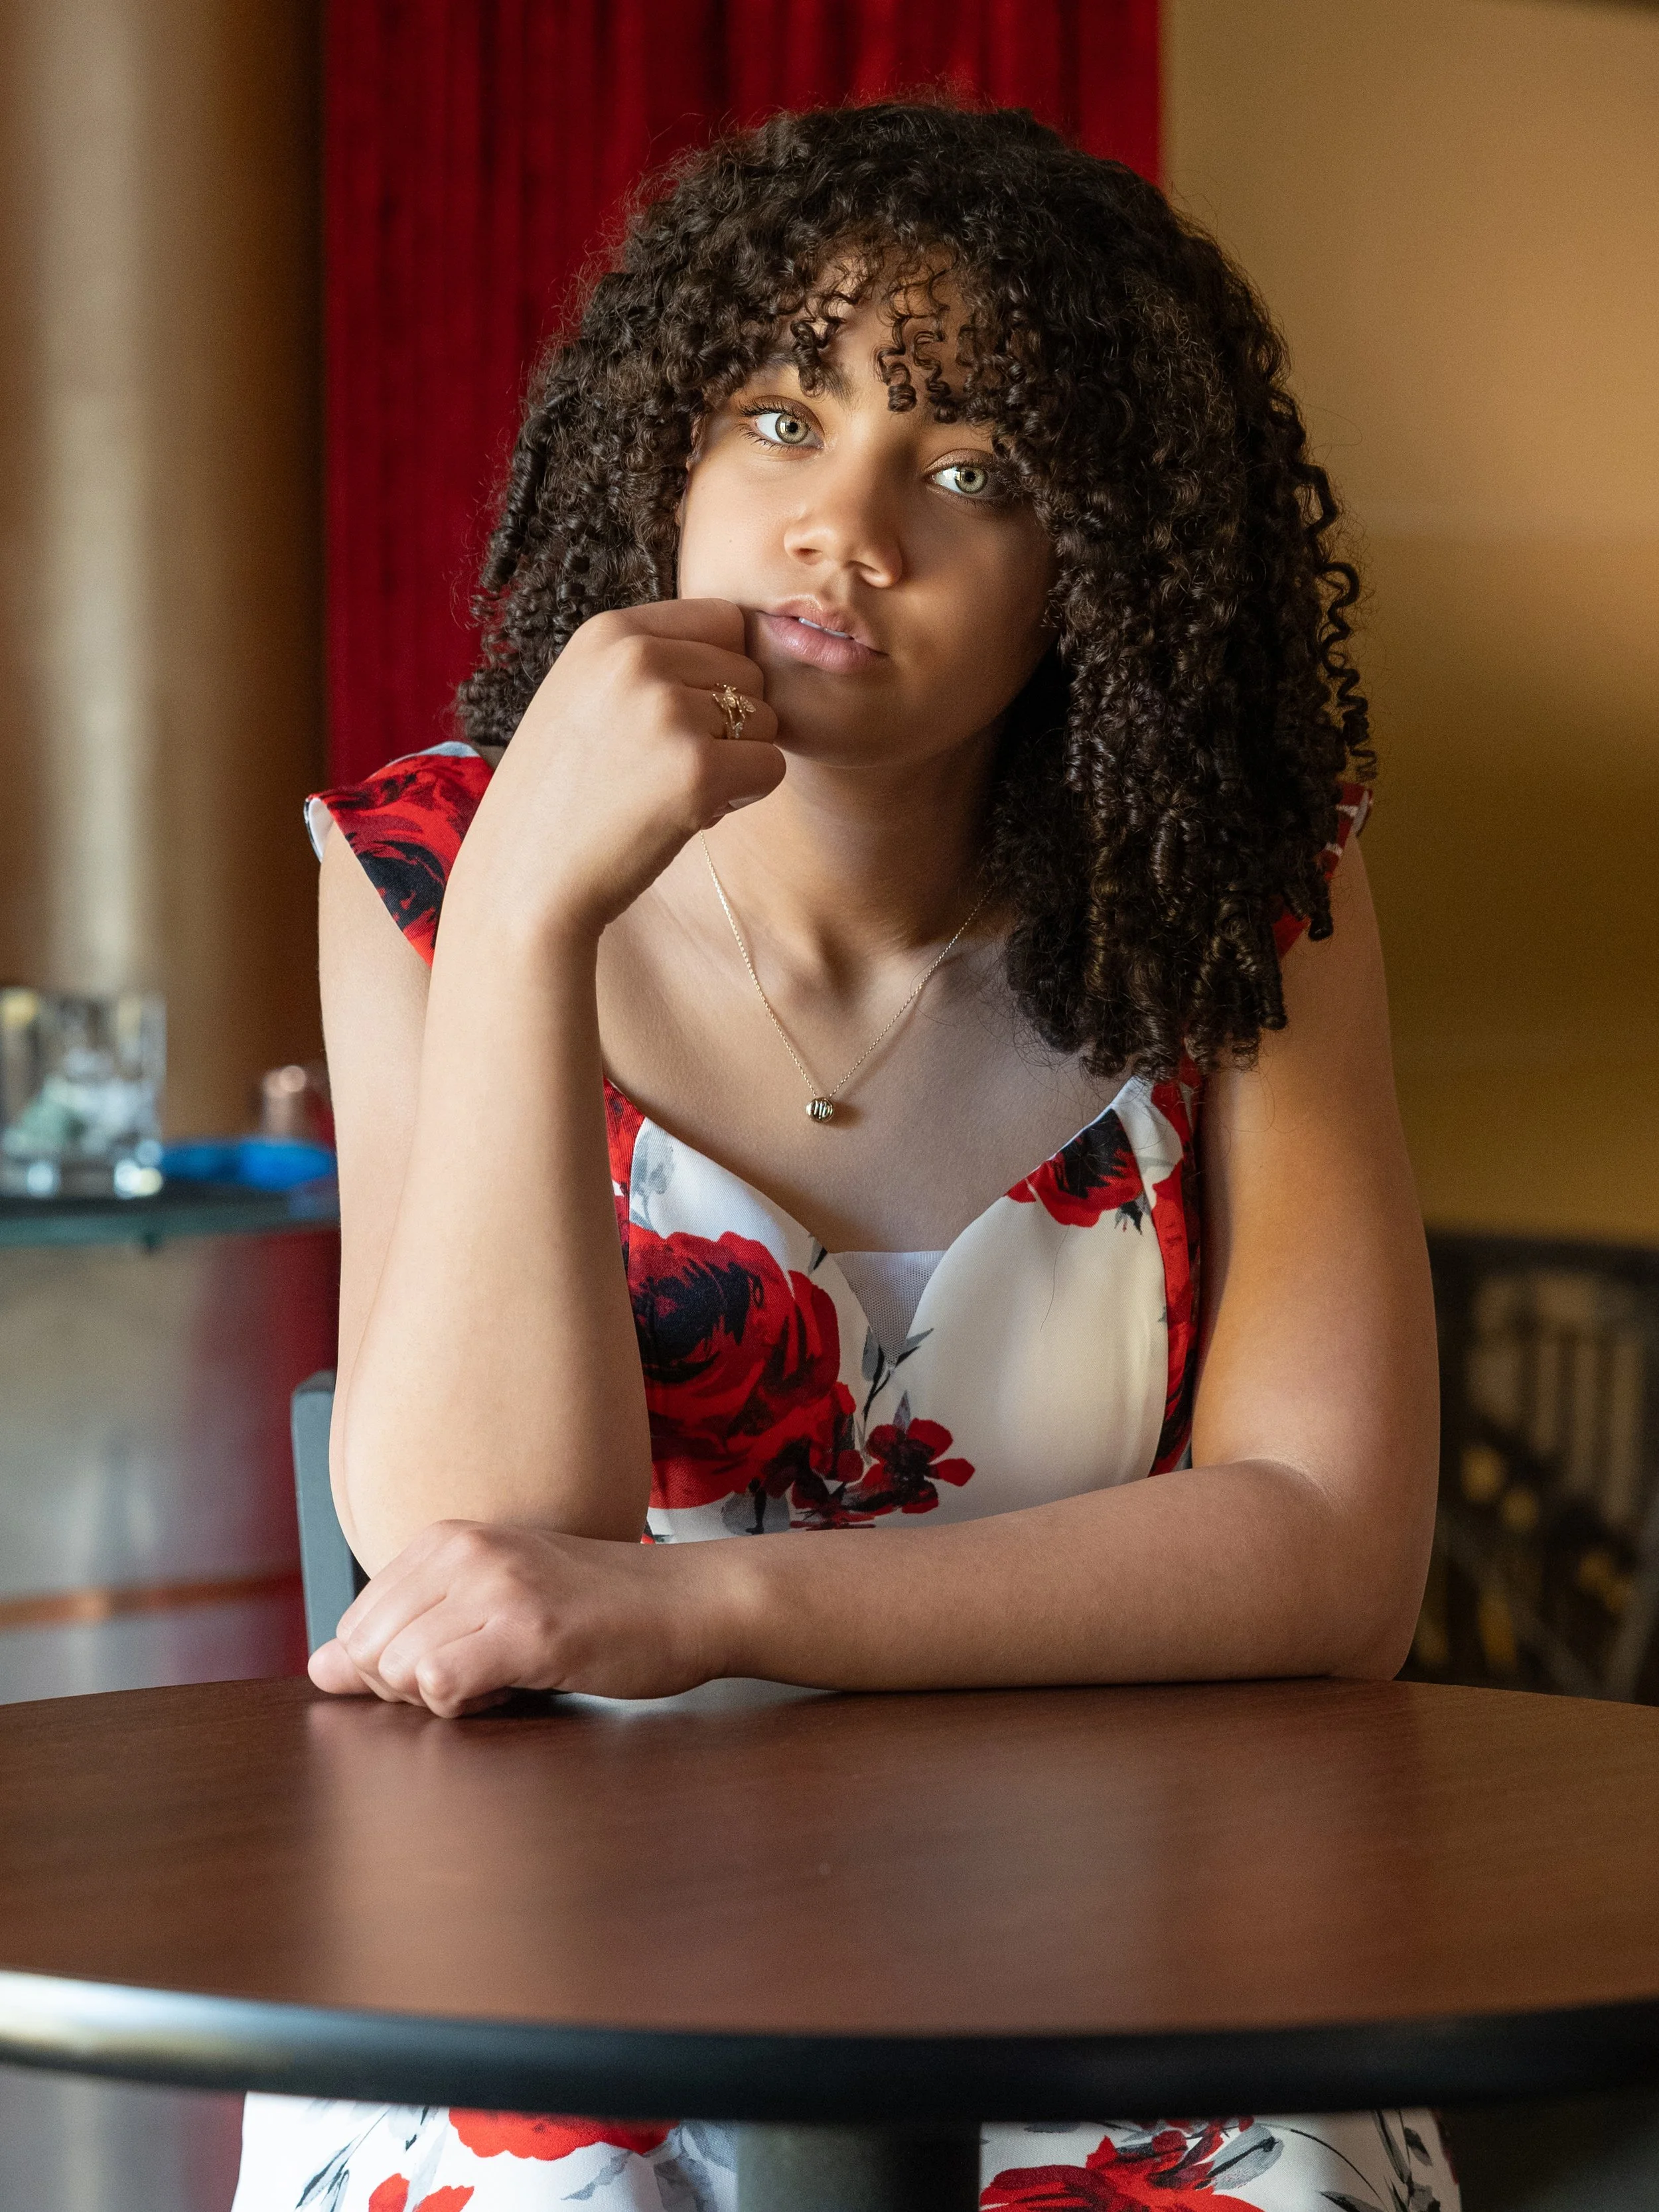
Pattern 1: Butterfly (aka Paramount)
Look: Bright center face, small symmetrical shadow directly under the nose (like a butterfly). Cheekbones defined, jawline clean.
Set-up (one-light window or softbox):
Place the light in front and slightly above the face, aimed down ~30–45°.
Keep the light on-axis (directly in front).
Add a white reflector just below the chin for clamshell glam without a second light.
Great for: Beauty, seniors, flattering most face shapes, glasses (with small tilt).
Watch out for: Deep eye sockets—add fill from below to lift the eyes.
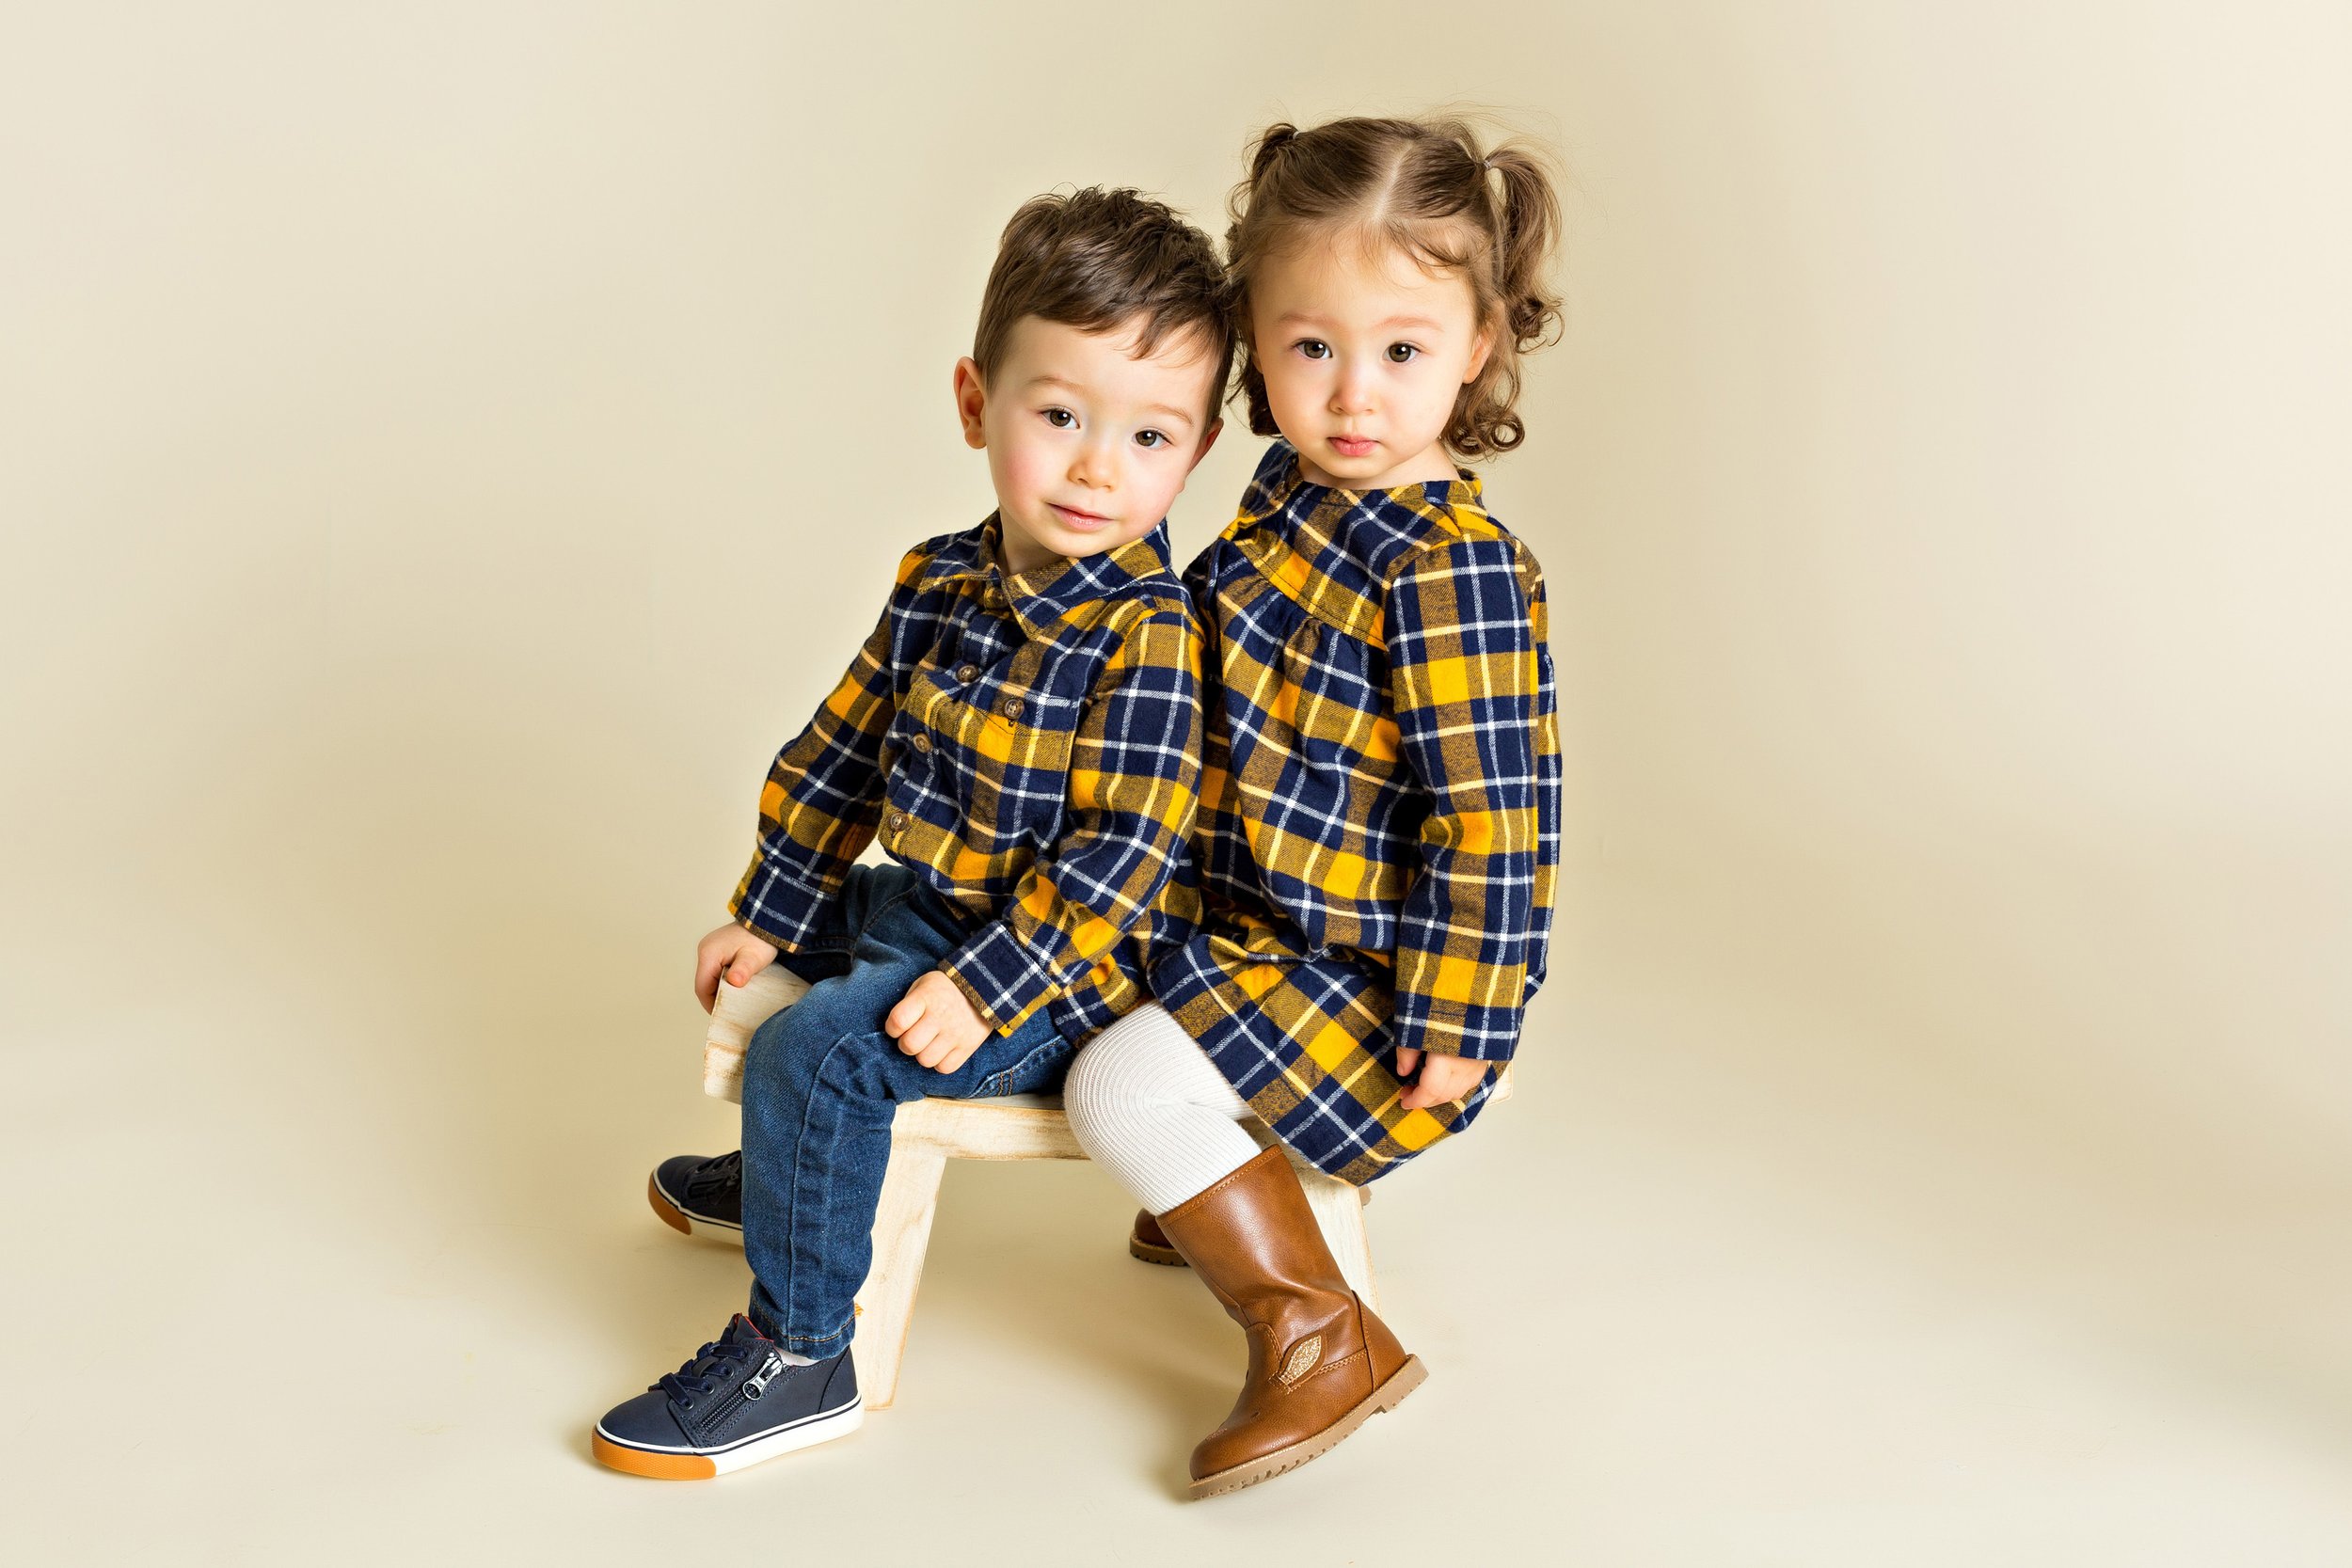
Pattern 2: Loop
Look: A small loop-shaped shadow off the side of the nose that doesn’t connect to the cheek. Natural, dimensional, forgiving.
Set-up:
Place the key at ~30–45° to one side of the camera and slightly above eye level.
Rotate the subject into the light until the nose shadow kisses the cheek but doesn’t touch it.
Great for: Families, seniors, quick sessions, outdoors at golden hour.
Watch out for: Nose shadow merging into the cheek—when it connects, you’re in Rembrandt territory (also fine if that’s the goal).
Pattern 3: Rembrandt
Look: A lit triangle on the shadow cheek under the eye. Dramatic and classic.
Set-up:
Start from Loop.
Nudge the key farther to the side and slightly higher until the nose shadow connects with the cheek shadow, leaving a small triangular highlight under the far eye.
Add gentle fill to control contrast.
Great for: Editorial, masculine portraits, storytelling, low-key moods.
Watch out for: Triangle too big (= broad lighting) or too tiny (= loop). Aim for a tidy, thumb-sized triangle.
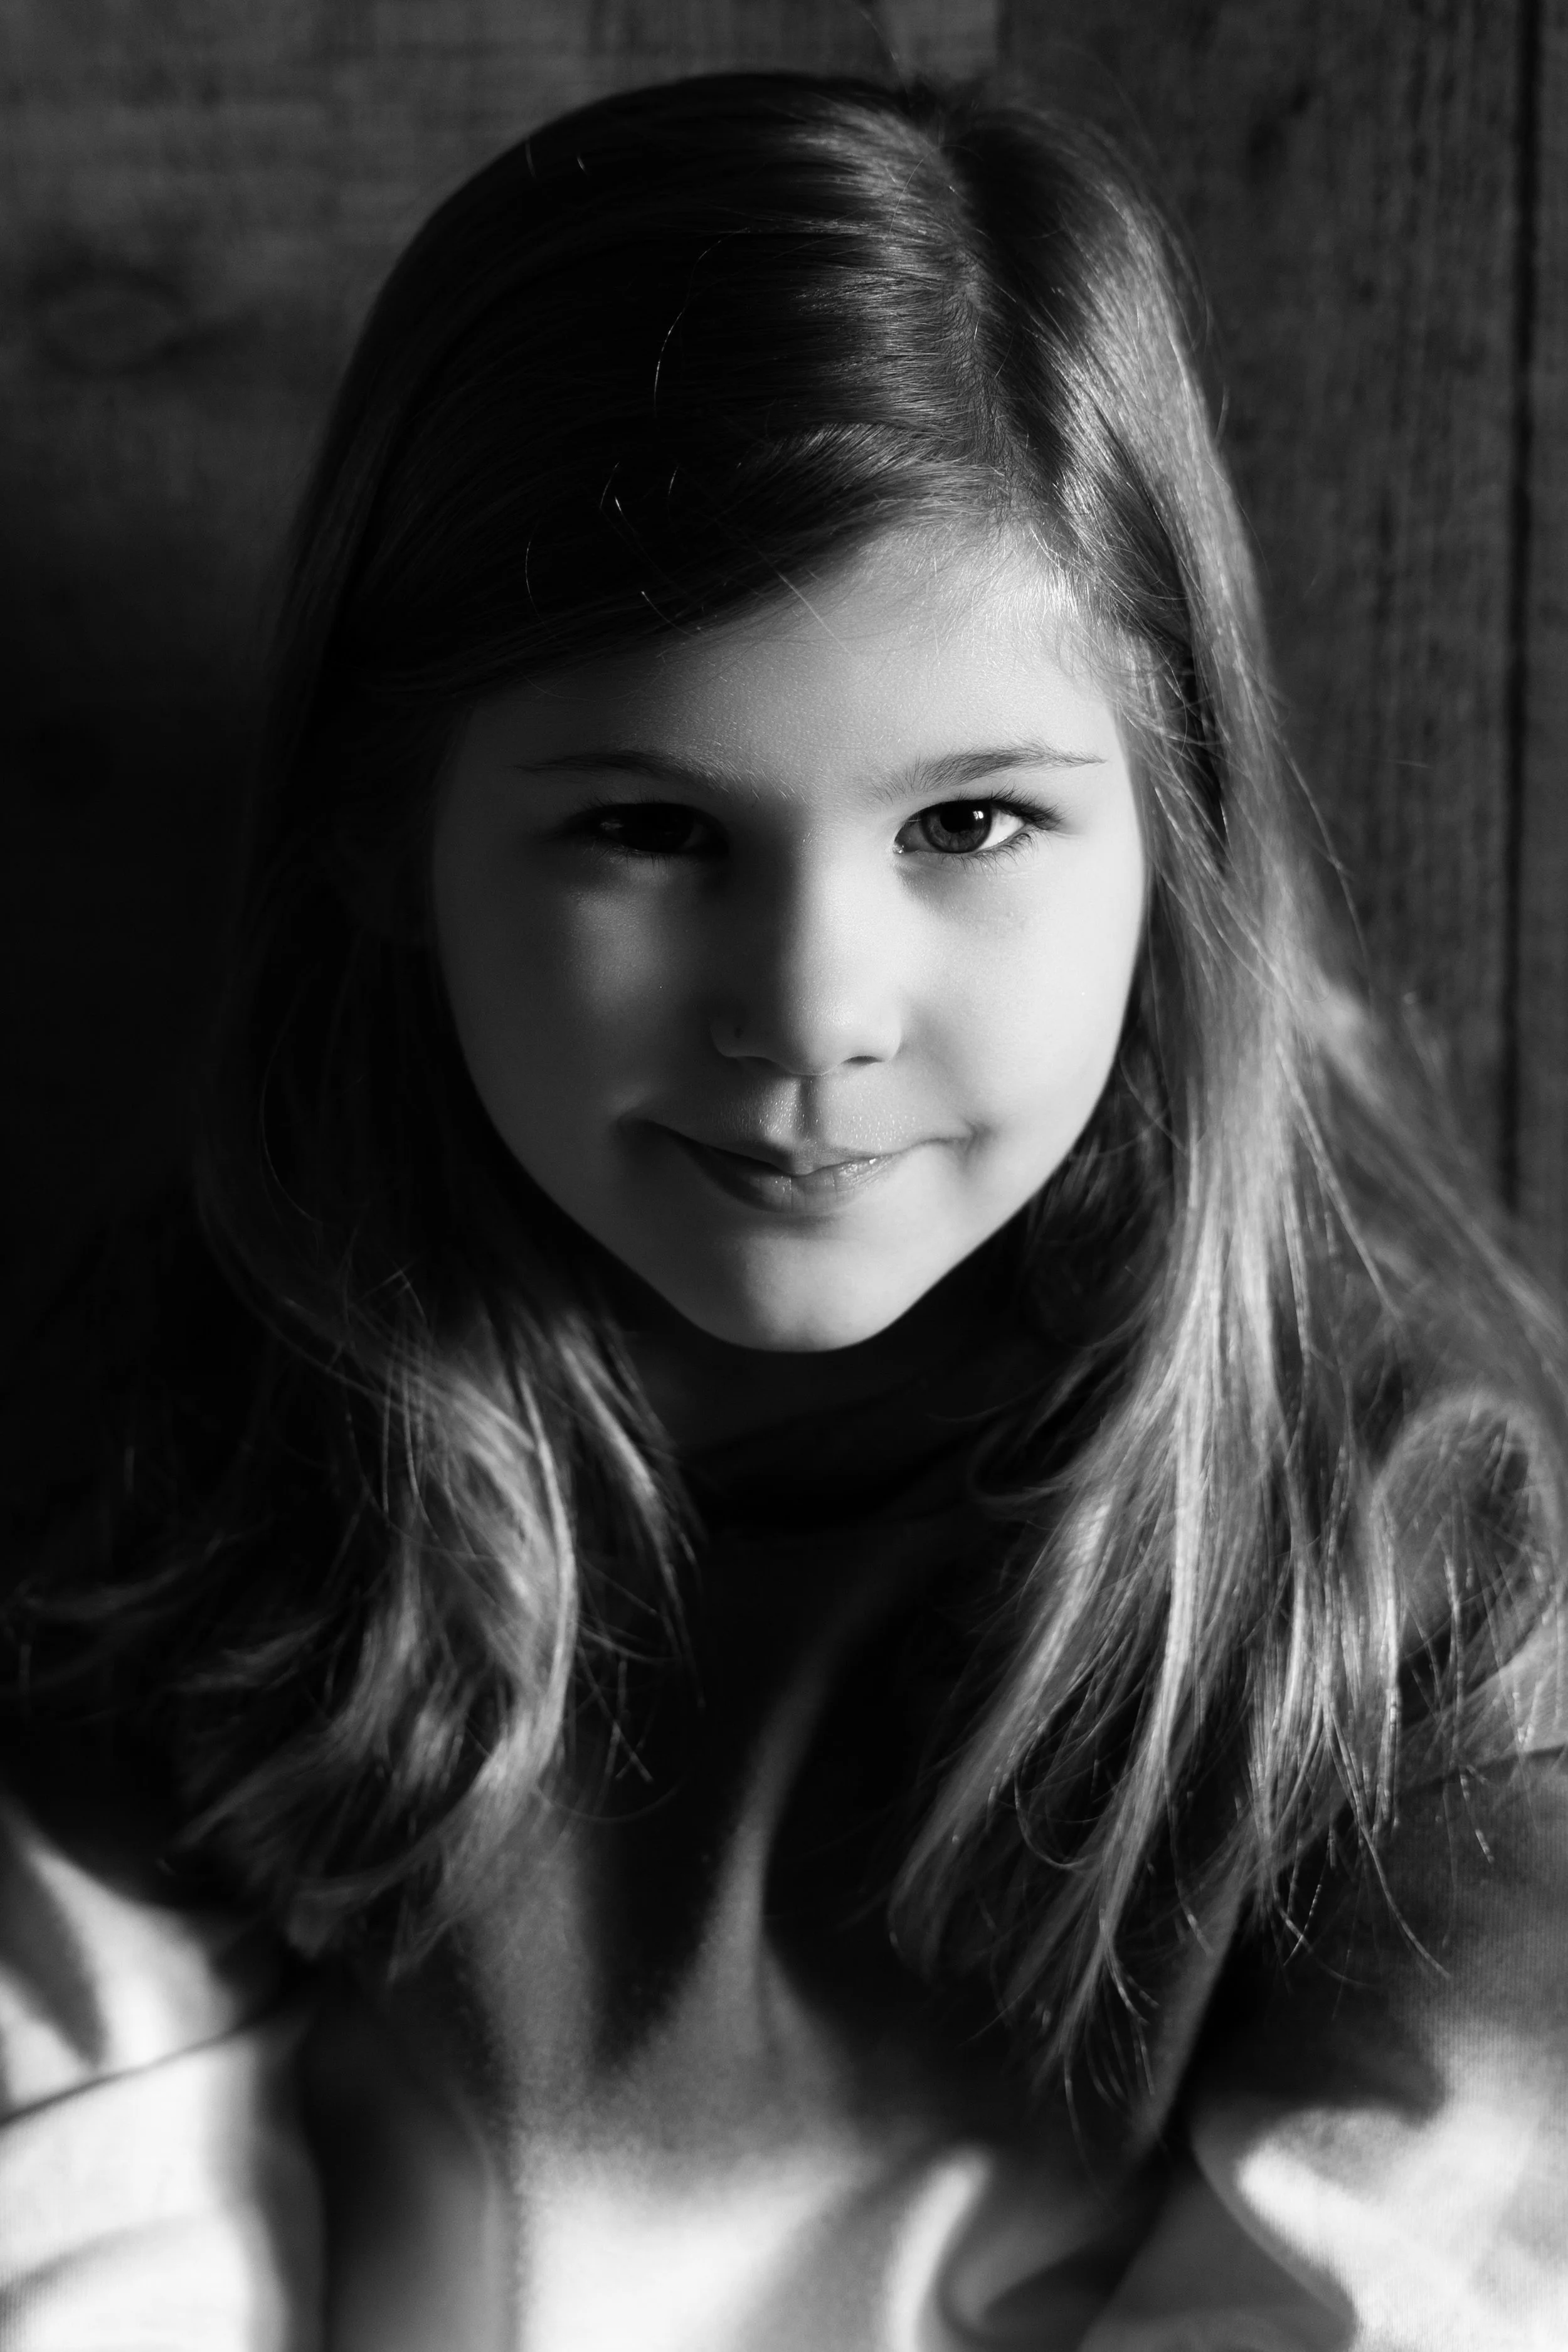
Pattern 4: Split
Look: One side lit, one side in shadow (a 50/50 divide).
Set-up:
Place the key 90° from camera (directly beside the subject) at face height.
Turn the subject slightly toward the light to keep the iris lit.
Great for: Drama, musicians, athletes, character portraits.
Watch out for: “Hollow” eyes—raise the light a touch or add a low-power fill to reveal the iris.
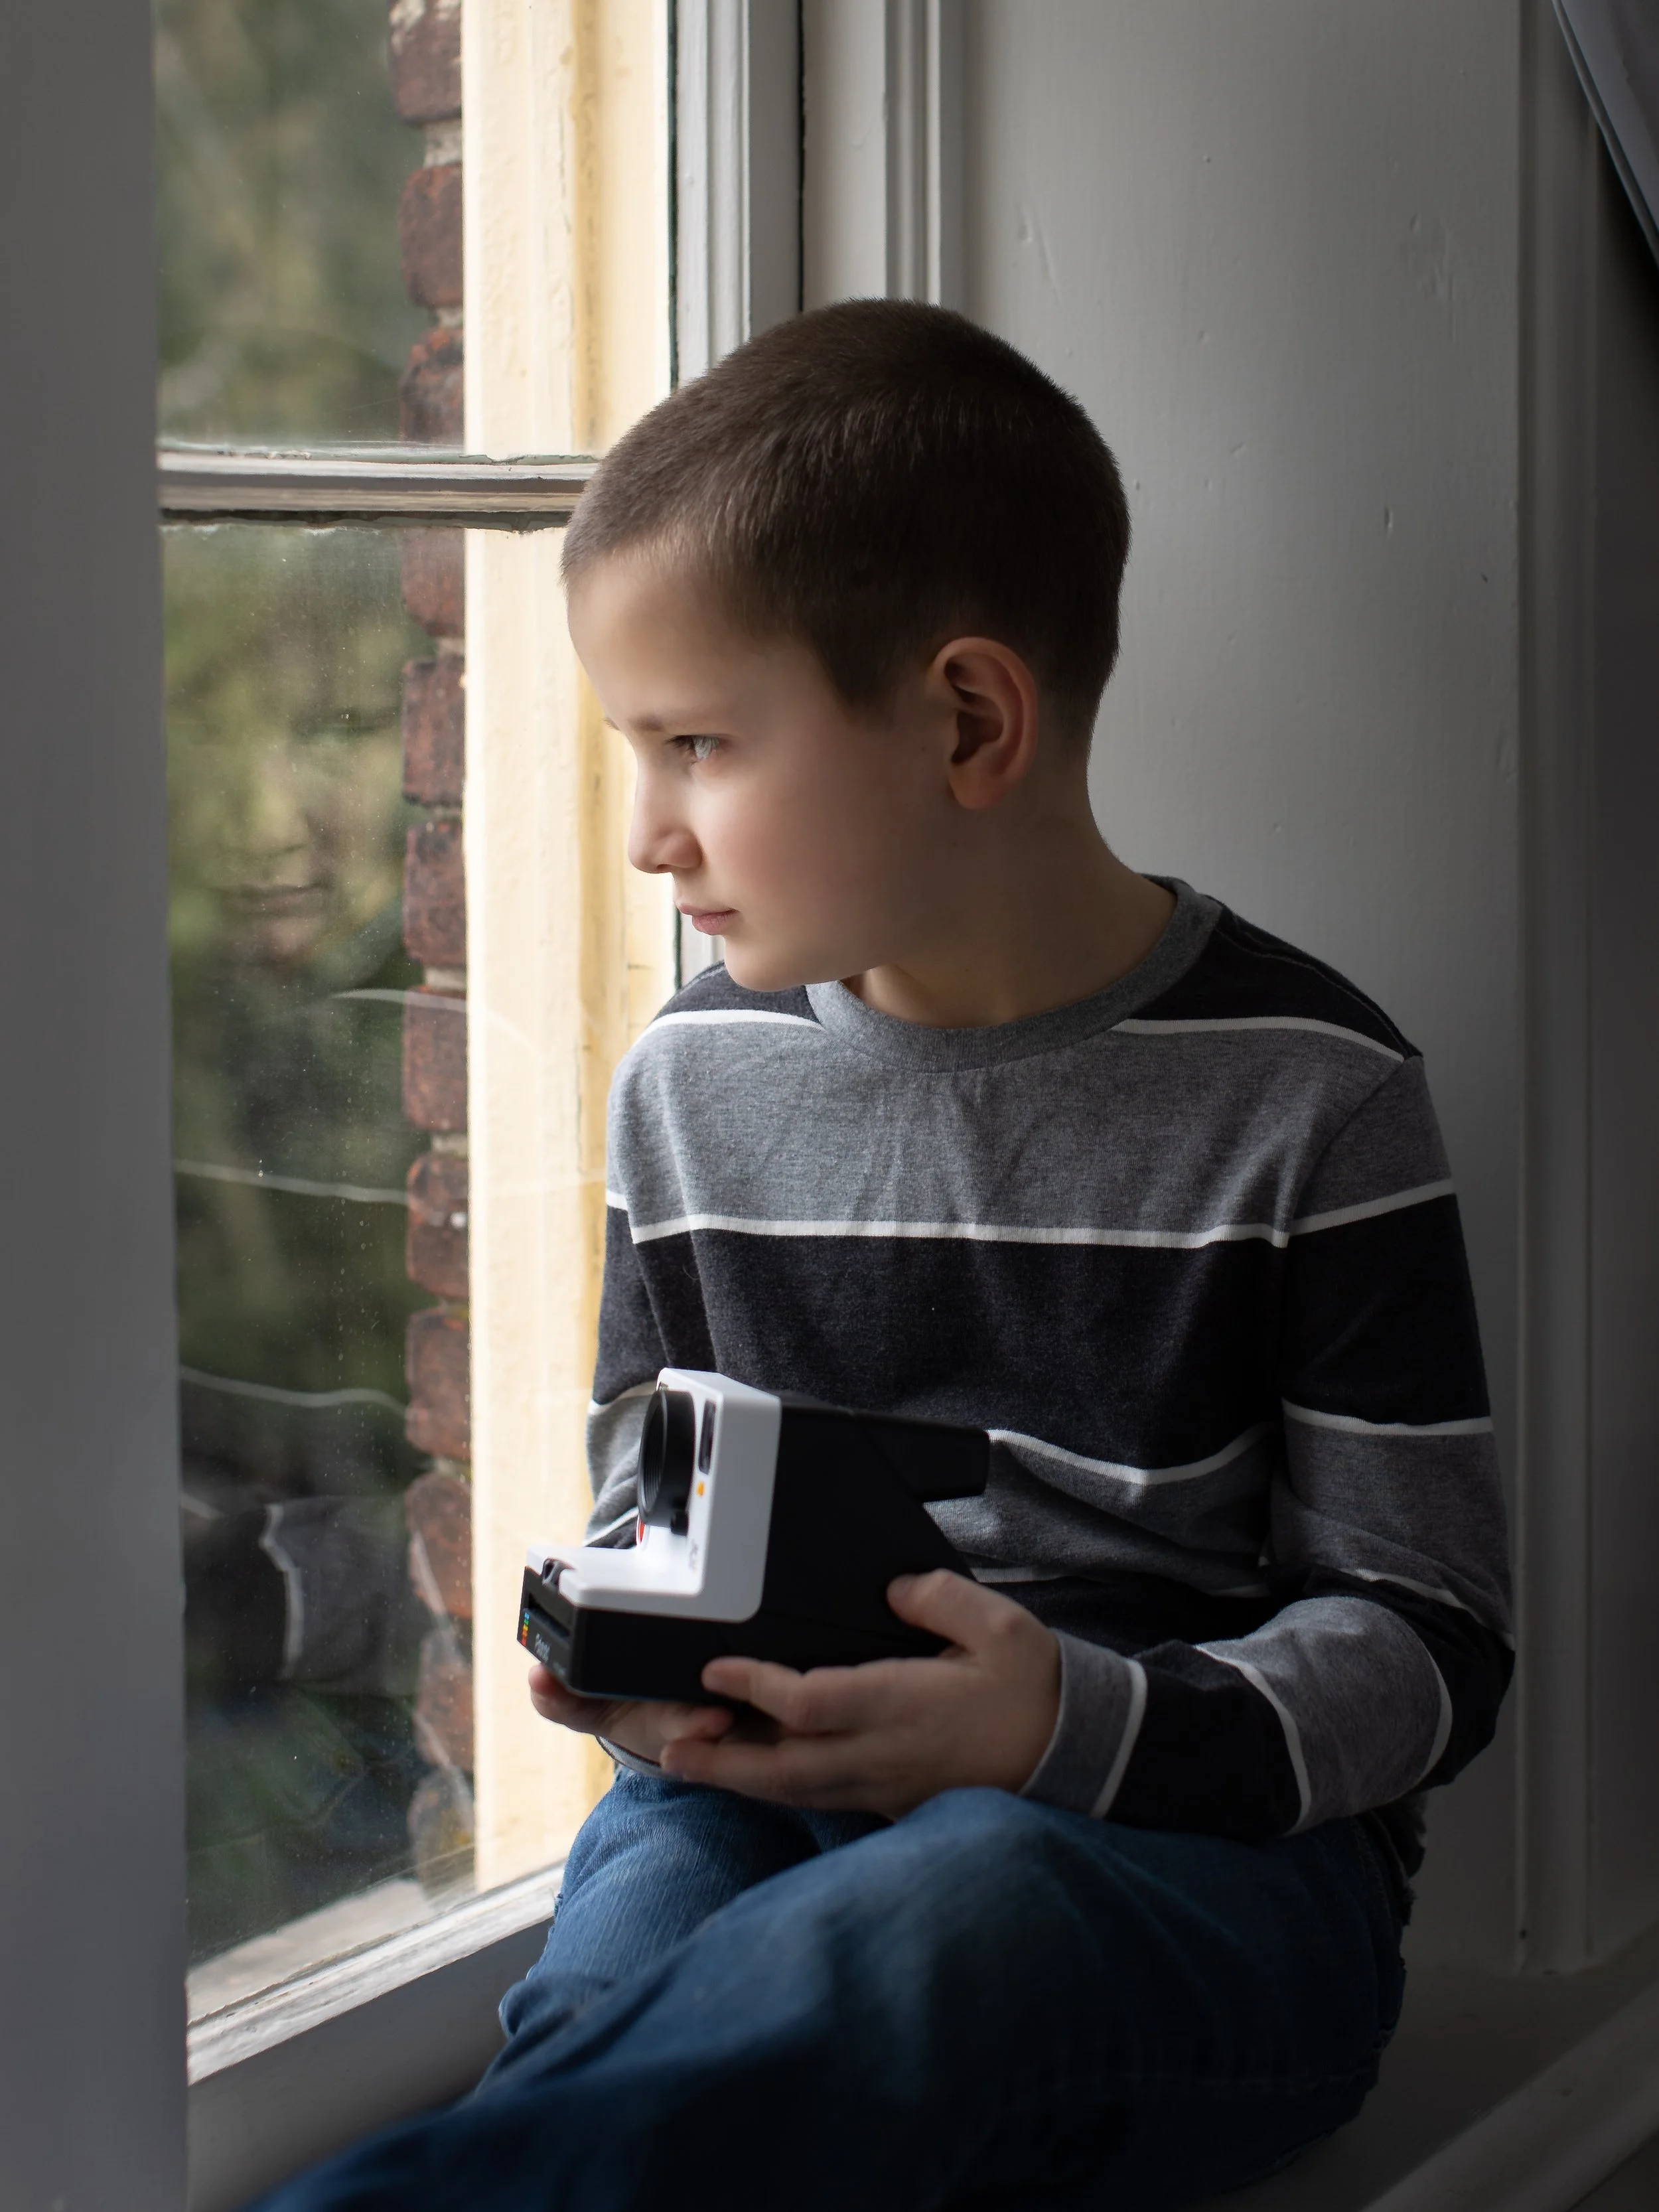
Pattern 5: Short Lighting
Look: The far cheek (turned away from camera) is lit; the near cheek is shadowed. This slims faces and adds depth.
Set-up:
Turn the subject slightly away from camera.
Position the key on the side they’re facing, so it lights the far cheek.
Keep the camera on the shadow side.
Great for: Round faces, mood, environmental portraits.
Watch out for: Overdoing shadow—add fill or rotate the face a hair back to camera.
Pattern 6: Broad Lighting
Look: The near cheek (closest to camera) is lit; the far cheek is shadowed. This widens faces, softens features.
Set-up:
Turn the subject slightly toward camera.
Keep the key on the camera side so it lights the near cheek.
Great for: Narrow faces, softer looks, headshots needing extra approachability.
Watch out for: Faces that already read wide—consider Short instead.
The easiest way to place light: the “L-C-F method”
Remember L-C-F: Light – Camera – Face. Set your light, plant your camera, then simply turn the face until the shadow shape matches the pattern you want. Micro-adjust height and distance for contrast and catchlights.
One-light recipes (window or softbox)
Window Loop (no gear except a reflector):
Subject 3–5 feet from window, window at 30–45° to camera.
Rotate face into the window until a small nose loop appears.
White foam board opposite the window to lift shadows.
Butterfly with reflector:
Window or softbox directly in front, raised above eye level.
Large white board or collapsible reflector under the chin.
Perfect for clean, flattering senior portraits.
Rembrandt with negative fill:
Key at ~45° and elevated.
Use a black card on the shadow side to deepen the triangle.
Add a hair light if you’re losing separation from a dark background.
Split outdoors (open shade):
Place subject at the edge of shade, sun striking from one side.
Rotate the body slightly toward camera to keep the lit eye visible.
Use a small reflector low and in front to keep the eye socket open.
Two-light upgrades (still simple!)
Clamshell (beauty)
Key: softbox front and high (Butterfly).
Fill: small soft source under the chin, 2–3 stops lower than key.
Adds sparkle and smoothness without losing cheekbones.
Key + Rim
Key: Loop or Short.
Rim: bare or gridded light behind and to the side to edge the hair/shoulder.
Keep rim 1–2 stops brighter than the key for crisp separation.
How to pick the right pattern (face-shape and purpose)
Round or fuller faces → Short or Loop (slimming).
Very narrow faces → Broad or Butterfly (adds width).
High cheekbones → Butterfly, Clamshell (celebrate them!).
Strong jawlines → Rembrandt or Short (structure and mood).
Corporate headshots → Loop or Broad, medium contrast, friendly.
Athletic/editorial → Rembrandt or Split, higher contrast, grit.
Glasses, hair, and skin—fast fixes
Glasses glare: Raise the key and tilt the front of the frames down a few degrees; shift the light laterally until glare disappears.
Dark hair on dark background: Add a rim light or move the subject farther from background and raise exposure on the background a touch.
Shiny skin: Bigger source + farther back = lower specularity. Keep blotting papers handy; powder beats cloning.
Natural light vs. flash: same patterns, different knobs
Patterns are angle-based, not gear-based. With flash you control power and modifier; with natural light you control distance to window, subject angle, and background exposure. If your window is harsh, back up and bounce the light off a white wall or sheer curtain.
Troubleshooting checklist (read this when something looks “off”)
Eyes look dull: Raise the key slightly, aim for catchlights at ~10 or 2 o’clock.
Nose shadow too long: Lower the key or rotate the face toward the light.
Face looks flat: Shift the key more to the side (from Butterfly to Loop).
Too much drama: Bring in fill or rotate face back to camera.
Uneven skin texture: Enlarge the source (umbrella/softbox) and bring it closer.
Quick reference: distances and heights
Start with key just above eye level, tipped down 10–15°.
Keep soft sources as close as possible (edge of frame close). Closer = softer.
For windows, 3–5 feet is a sweet spot for wrap without flatness.
Fill usually 1.5–3 stops lower than key (experiment by taste).
What is a portrait lighting pattern?
A repeatable shadow-and-highlight arrangement on the face created by where you place the key light relative to the camera and subject.
Which pattern is most flattering for most people?
Loop—it’s natural, dimensional, and forgiving across ages and face shapes.
How do I slim a face with light?
Use Short lighting: turn the face slightly away from camera and light the far cheek.
How do I minimize a strong or wide nose?
Choose Short or Butterfly, avoid strong Broad lighting, and keep the key slightly higher for a downward nose shadow.
What’s best for glasses?
Butterfly or Loop with a higher key and a small down-tilt of the frames to kick reflections away from the lens.
Can I do all of this with only a window?
Yes. Patterns are about angles, not gear. A window + reflector can make every pattern here.
How do I get the Rembrandt triangle every time?
Start at Loop, then nudge the key farther to the side and higher until the nose shadow connects with the cheek, leaving a small triangle of light under the far eye.
My outdoor portraits look flat—help?
Move to the edge of open shade and put the sun 45° off-camera as a rim; use a white reflector to build Loop or Short on the face.
A mini practice plan (15 minutes)
Seat your subject near a north-facing window (or a softbox).
Shoot Butterfly → raise/lower light for the perfect little nose shadow.
Shift the light one step to the side → that’s Loop.
Shift the light another step sideways and a touch higher → Rembrandt.
Keep the light there and turn the face away from camera → Short.
Now turn the face toward camera with the same light → Broad.
Note how one light and small angle changes completely change the mood.
Final thoughts (and a tiny pep talk)
Lighting isn’t magic; it’s angles and intention. Once you can spot the nose shadow and the cheek shadows, you’ll know exactly which pattern you’re in—and how to nudge it into the one you want. Start with Loop, practice turning faces for Short/Broad, and keep a reflector handy. The rest is reps.
If you’re in the Vancouver, WA / Portland area and are a parent or senior wanting portraits that make the most of your features—reach out to Studio Q Photography. Let’s make light work for you.


